Queen Rearing: Method, Timeline and Costs Explained
Queen rearing step by step: grafting queen cells, the cell builder, mating nucs and a day-by-day timeline, plus real costs and when buying queens makes sense.
Quick answer: queen rearing means letting a strong cell builder colony raise new queens from young larvae of your best queen. You graft larvae under 24 hours old into queen cups, the cells are capped around day 5, moved into mating nucs on day 10, and the queens emerge around day 11 or 12. After the mating flights, laying usually starts 10 to 14 days after emergence. The equipment is cheap. The real costs are the bees you take from production colonies and fixed appointments over about four weeks per round.
After two or three seasons, many beekeepers start to wonder how to raise queen bees themselves. It’s a fair question: queen rearing is one of the most rewarding parts of beekeeping. It is also work on a fixed schedule, where one missed day can cost you a whole batch.
This guide walks through the method and the timeline so you can decide whether to start rearing or simply buy mated queens.
Emergency cells or planned rearing?
Every colony can replace its own queen. Remove her, and the workers turn a few cells with young worker larvae into emergency queen cells. That is the simplest form of queen rearing, and it works well enough for a split.
The drawbacks are well known. You don’t choose the mother of the larvae. The bees sometimes pick larvae that are already too old, which gives smaller, weaker queens. And you get only a handful of cells, on the colony’s schedule.
With planned rearing, you choose a breeder queen for the traits you want: gentleness, calm on the comb, low swarming tendency, good honey yield. You take her young larvae and raise ten, twenty or more queens in one round, all the same age and of known origin. At least on the mother’s side, because the fathers are decided at mating.
The method step by step
Grafting queen cells
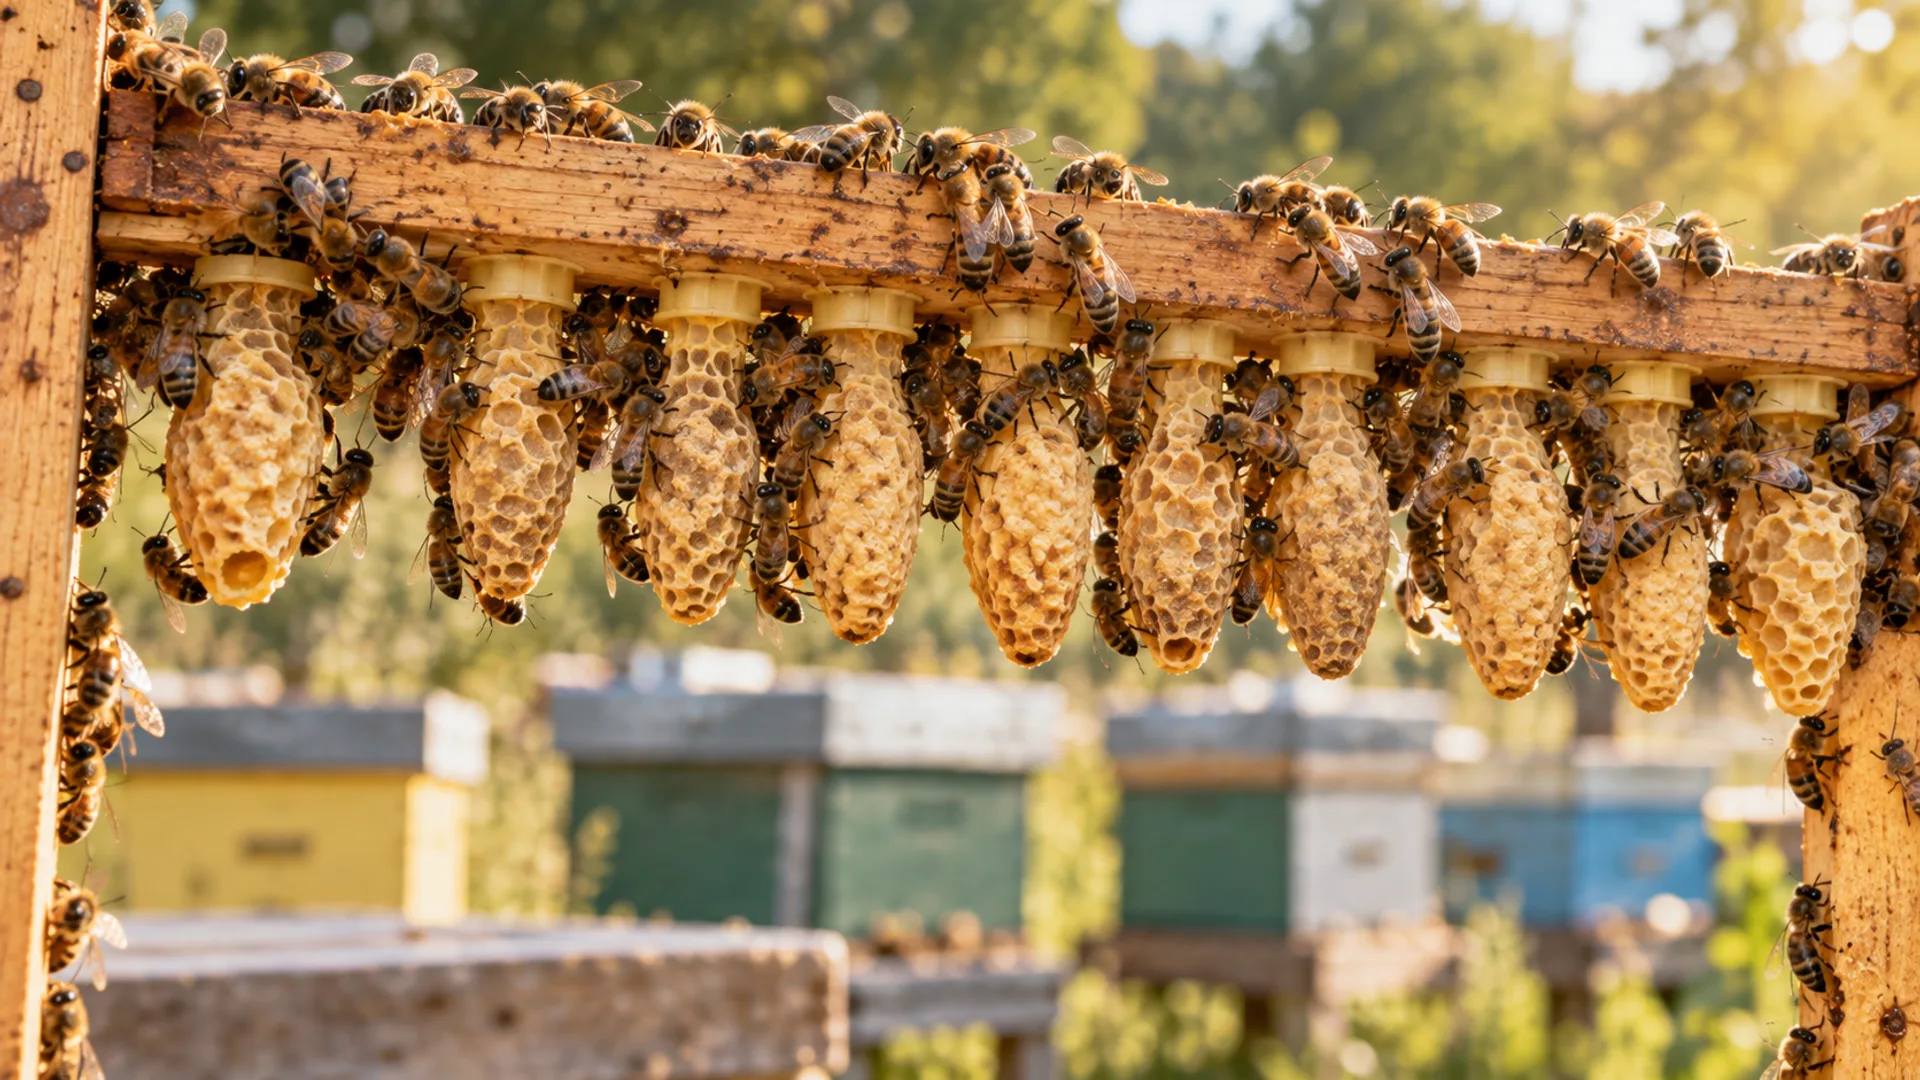
The classic technique is grafting. With a grafting tool (a Chinese grafting tool or a fine metal needle) you lift larvae no older than one day out of worker cells and lay them in wax or plastic queen cups. The cups sit on bars in a cell bar frame. The younger the larva, the better she is fed as a future queen.
Grafting needs good light, a steady hand and a warm, humid room so the larvae don’t dry out. If your eyes or fingers struggle, there are no-graft systems: the breeder queen is confined for a day in a cage with removable plastic cups and lays straight into them, and the cups are then fitted to the cell bar frame.
The cell builder
The frame goes into a cell builder: a strong, well-fed colony with lots of young nurse bees. There are several setups. Queenless cell builders accept larvae very readily. Queenright cell builders keep the queen below a queen excluder, away from the cell bars. Some beekeepers use a queenless starter and then a queenright finisher. Whatever the system, three things matter: plenty of nurse bees, abundant pollen and a steady flow of food, which means feeding syrup when there is no nectar flow.
The day after grafting you can see how many larvae were accepted: the cups are filled with royal jelly and the bees are drawing them out.
Queen cells and emergence
About five days after grafting, the bees cap the queen cells. From now on, don’t jar or shake the frame, because the developing pupa is fragile. By day 10 at the latest, just before emergence, the ripe cells must be moved. Otherwise the first queen to emerge kills the rest.
Some beekeepers put the cells into emergence cages so they can see each young queen before distributing her. Others place the ripe cells straight into the mating nucs.
Mating nucs
Each young queen needs a small colony to fly from: the mating nuc. That can be a mini mating hive such as an Apidea or Kieler with a cup of bees, a Mini-Plus, or an ordinary nucleus hive. Small units save bees but need watching for food, heat and robbing. Larger ones are sturdier and easier to build up into a colony.
A few days after emergence, the queen makes her orientation and mating flights, mates with several drones and returns. A few days later she starts to lay. A solid, even brood pattern is the first sign that mating has succeeded.
Queen rearing timeline, day by day
Queen rearing follows bee biology and barely moves. A queen takes about 16 days from egg to emergence. Days are usually counted from grafting day (day 0):
| Day | What happens | What you do |
|---|---|---|
| −4 to −1 | Breeder queen lays the eggs (day −4), larvae hatch | Set up and feed the cell builder, prepare the larvae frame |
| 0 | Grafting | Larvae under 24 h into cups, cell bar frame into the builder |
| 1 | Acceptance | Count accepted cups |
| 5 | Capping | Leave the frame alone |
| 9 | Mating nucs | Stock nucs with bees and food |
| 10 | Ripe cells | Move cells into nucs or emergence cages |
| 11–12 | Emergence | Check that queens have emerged |
| about 17–22 | Mating flights | Leave in peace, feed if needed |
| about 21–26 | Laying starts | Check for eggs and brood |
| from about 28 | Queen ready | Mark, use or introduce |
Bad weather can delay mating flights by days or even weeks. From early May to July, most beekeepers in temperate Europe can run several rounds two or three weeks apart.
Where the queens get mated
Rearing only fixes the mother. The fathers depend on where mating happens. There are four main options:
- Open mating at your apiary: the queen mates with local drones. It’s simple and free, but the fathers are unknown. For production colonies, many beekeepers are happy with that.
- Mating station: the nucs go to a site stocked with selected drone colonies, far from other apiaries. The nucs must arrive drone-free, and most stations require a health certificate. How secure mating is depends on the site.
- Island mating station: a special case on an island, where water provides the isolation. Considered very secure, but access is limited.
- Instrumental insemination: a specialist inseminates the queen under a microscope with semen from selected drones. Full control over the fathers, but it needs equipment and skill and mostly serves breeding programmes.
What semi-isolation and reproductive isolation mean in practice is covered in semi-isolation vs reproductive isolation.
What success rate to expect
Not every larva is accepted, not every cell emerges, and not every queen comes back from her mating flight. A few are lost at each stage. Experienced rearers with well-tuned cell builders get high acceptance. On a first attempt, it’s normal for only part of a grafted frame to end up as laying queens.
The usual causes of failure for beginners are larvae that were too old or dried out, a weak or underfed cell builder, missed dates for moving cells, and losses on mating flights to weather or birds. In year one, budget for learning rather than a full row of mated nucs.
Costs and time
The basic kit is affordable. The real cost lies elsewhere.
| Item | Rough range |
|---|---|
| Grafting tool, queen cups, cell bar frame | A few tens of euros, one-off |
| Mating nucs (Apidea, Kieler, Mini-Plus) | Roughly 10 to 30 euros each, reusable for several seasons |
| Mating station fee | Usually a small amount per nuc, plus travel |
| Bees and brood for the builder and nucs | Weakens production colonies, costs honey |
| Feed | Syrup or fondant for the builder and nucs |
| Time | Fixed appointments over about four weeks per round |
Time is the biggest cost. Grafting on day 0, moving cells on day 10, taking nucs to a mating station and collecting them: none of these dates bend to your diary. On top of that come the bees you take from production colonies, which they miss during the main flow.
Rear your own or buy mated queens?
Rearing your own queens pays off mainly if:
- you keep ten or more colonies and need queens every year;
- you have good colonies whose traits you want to keep;
- you have time on fixed days in May and June;
- you enjoy the craft and accept the learning curve.
Buying is often the better choice if:
- you have only a few colonies and need a couple of queens a year;
- you need to act fast, for example with a queenless colony or laying workers;
- you want controlled mating but have no mating station within reach;
- you’d rather put your bees to work on honey than on rearing.
Many beekeepers do both: emergency cells for their splits, and a few bought mated queens to bring in fresh stock. If you’re weighing up which format to buy, read queen cell or mated queen. To get a bought queen safely into a colony, follow our guide on how to introduce a queen.
Mated queens from Maramureș
If you decide against rearing, or want to top it up: Bienen Königin has sold naturally mated, marked Carnica and Buckfast queens from Maramureș, Romania, since 2016. They come from a semi-isolation mating station at about 800 to 900 m, and selected Buckfast queens also from an isolated station at about 1,400 m, in limited numbers. We don’t sell virgin queens or queen cells. Prices and shipping windows are on our queens page, and orders are taken by WhatsApp or phone.
Frequently Asked Questions
What is the difference between emergency queen cells and planned queen rearing?
Emergency queen cells are raised by a queenless colony from larvae the bees choose themselves. In planned queen rearing you pick a breeder queen, graft her young larvae into queen cups and raise many queens of the same age and known origin in one round.
How long does queen rearing take from grafting to a laying queen?
Counting from grafting, the queen cells are capped after about 5 days, moved to mating nucs on day 10, and the queens emerge around day 11 to 12. After the mating flights, laying usually starts 10 to 14 days after emergence, so about day 21 to 26 after grafting, later in bad weather.
How old should larvae be for grafting queen cells?
As young as possible and no more than one day old. The younger the larva, the longer she is fed as a queen and the better she develops.
What is the difference between open mating, a mating station and instrumental insemination?
With open mating the queen mates with unknown local drones. A mating station is stocked with selected drone colonies, away from other apiaries, and its security depends on the site. Island stations use water as a barrier, and instrumental insemination gives full control over the fathers.
How much does it cost to raise your own queen bees?
The equipment is cheap and mating nucs last several seasons. The bigger costs are the bees taken from production colonies for the cell builder and mating nucs, and fixed appointments over about four weeks per round.
When is buying a mated queen better than rearing your own?
If you keep only a few colonies, need a couple of queens a year, must react quickly to a queenless colony or have no mating station within reach, a bought mated queen is usually the simpler option.
Related articles
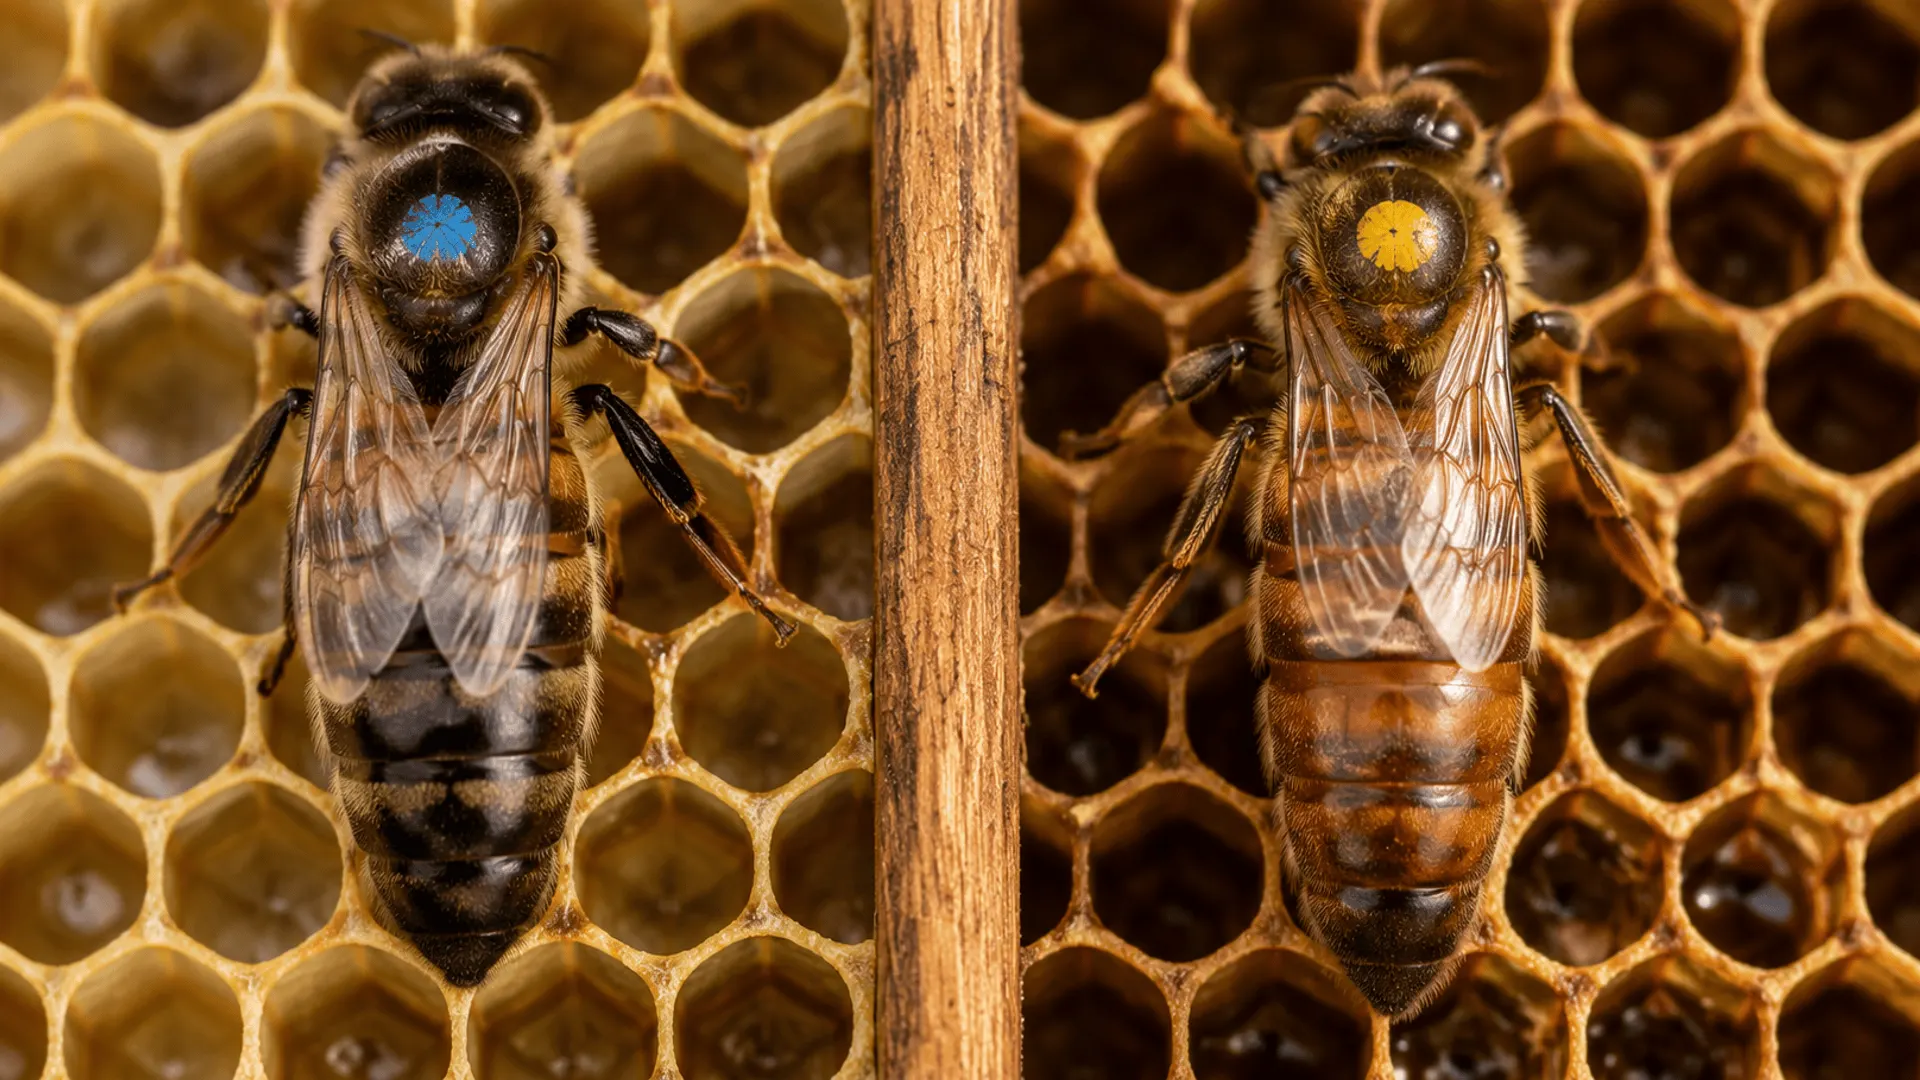
Carnica vs Buckfast: Which Queen Bee Suits Your Apiary?
Carnica vs Buckfast bees compared: temperament, honey yield, wintering, swarming and varroa. Which breed fits your climate, nectar flows and experience?
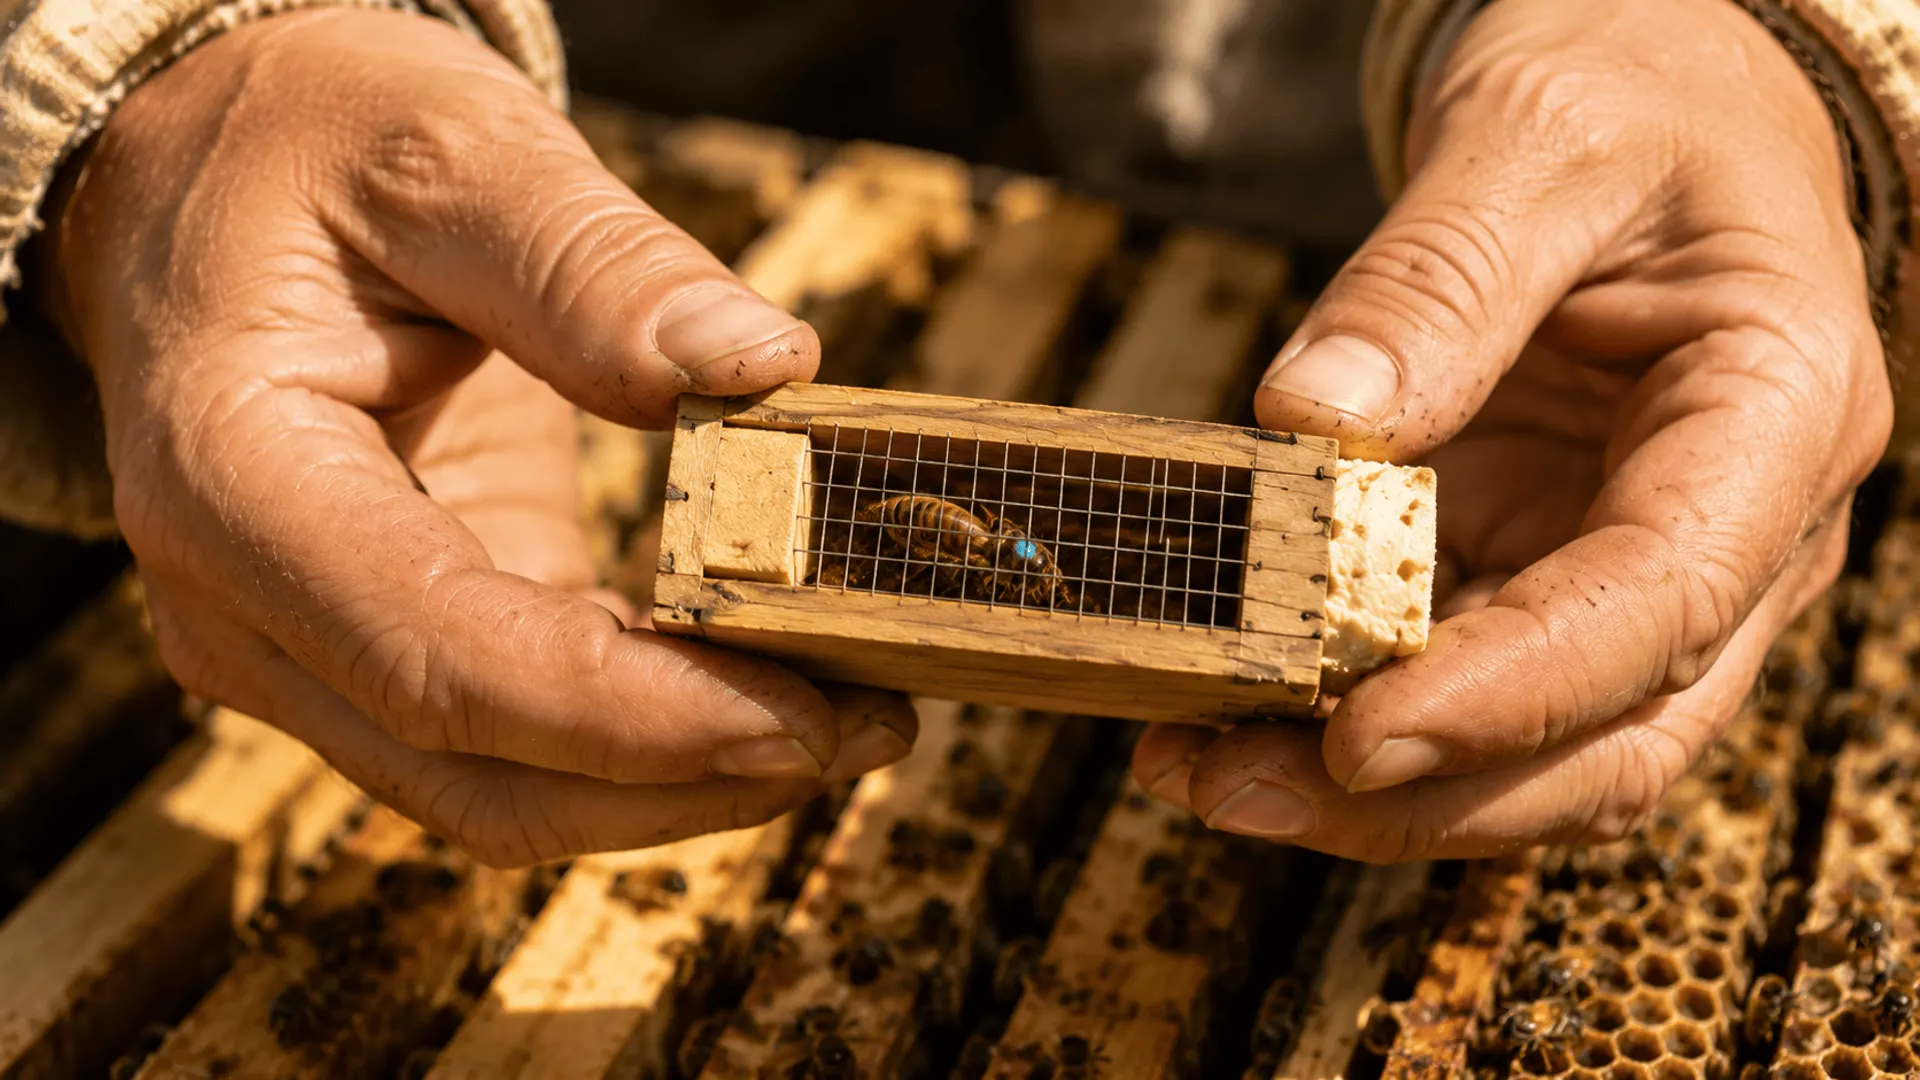
How to Introduce a Queen Bee: Step-by-Step Cage Method
How to introduce a new queen bee with the cage method: prepare the colony, place the cage, when to check, how to confirm acceptance and what to do if she fails.
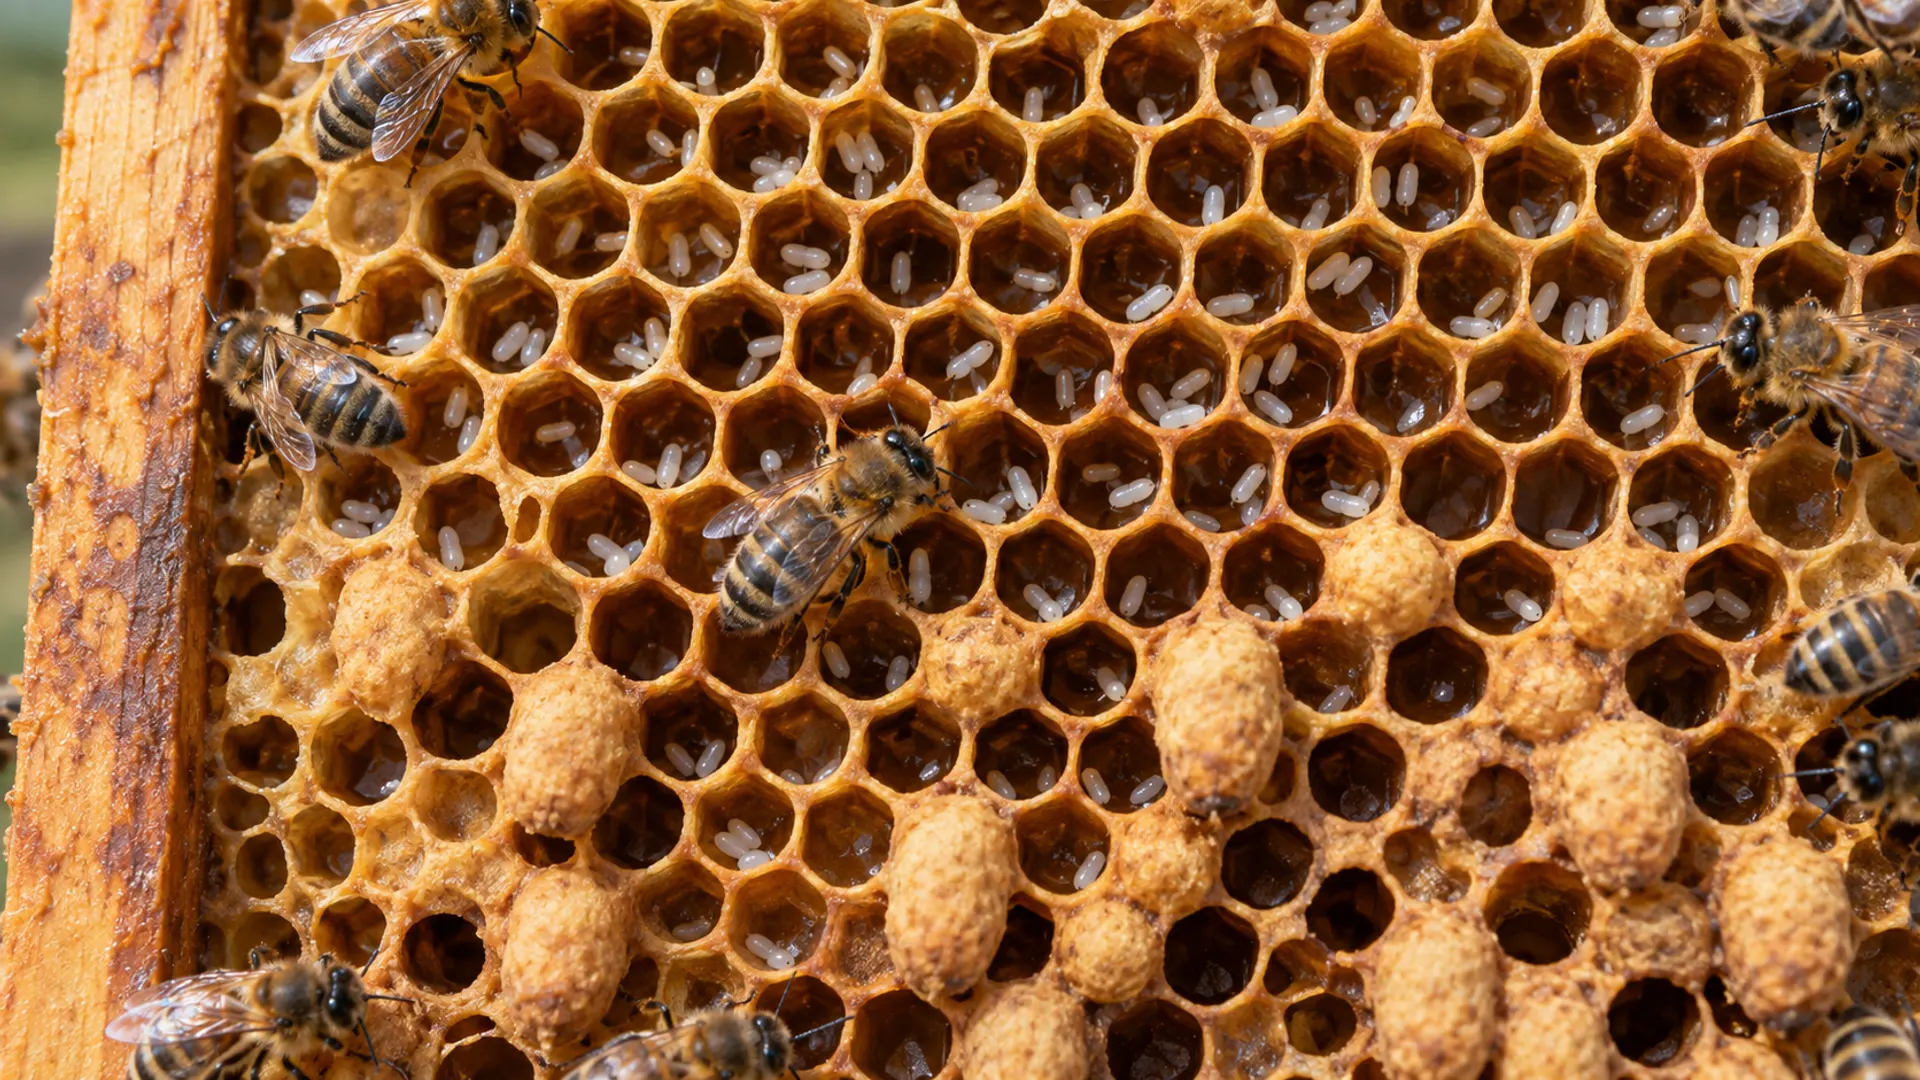
Laying Workers: How to Spot Them and Save the Colony
Laying workers or a drone-laying queen? How to tell them apart, why laying worker bees reject a new queen, and four methods that work to save the colony.